Testing
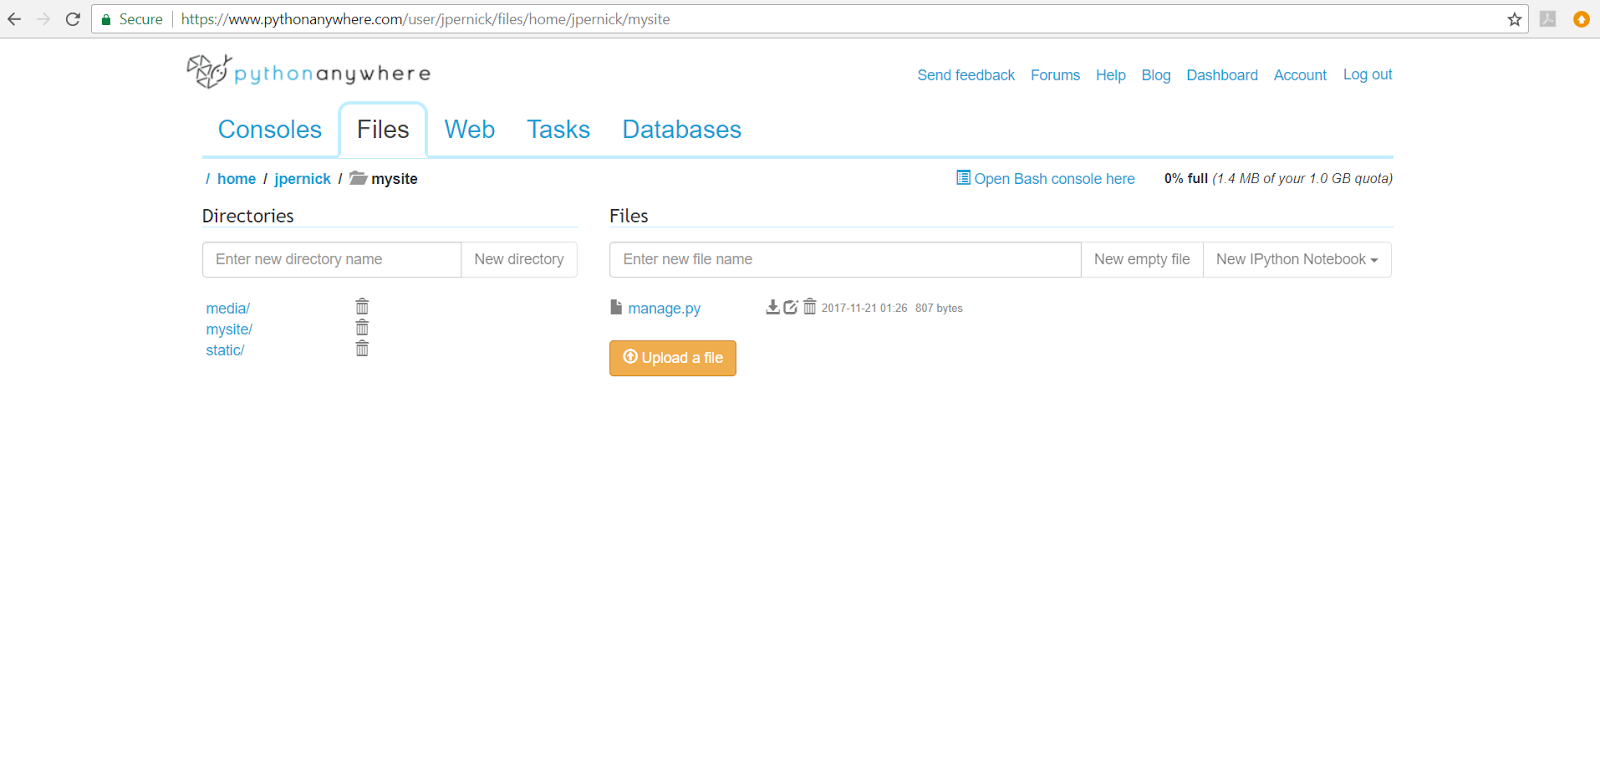
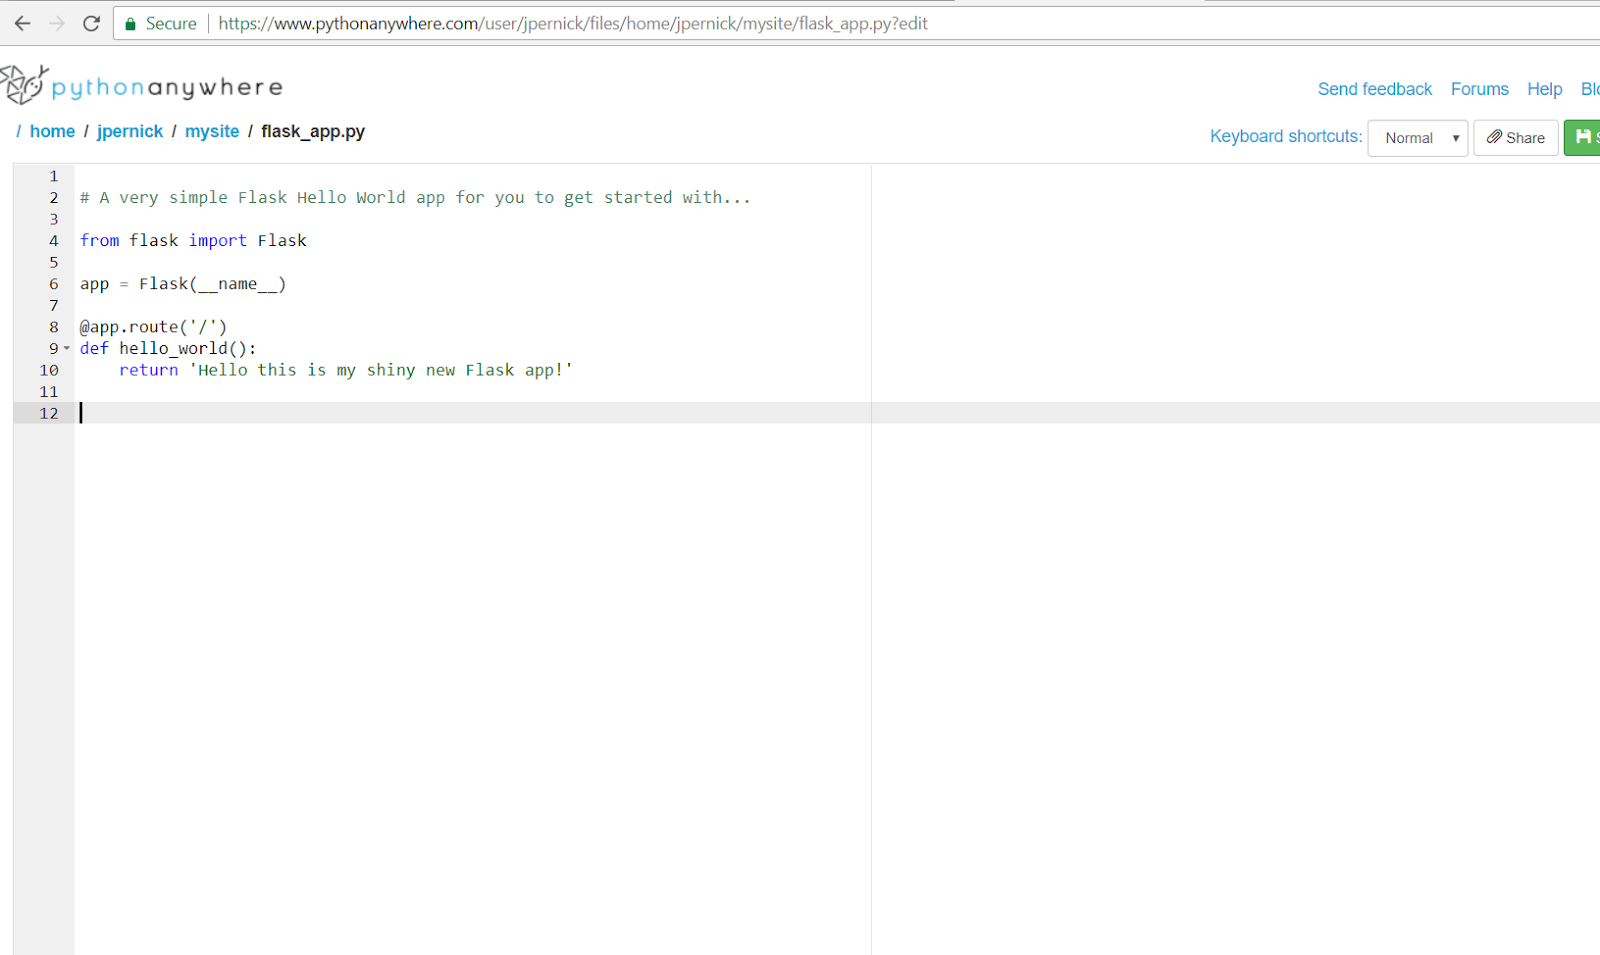
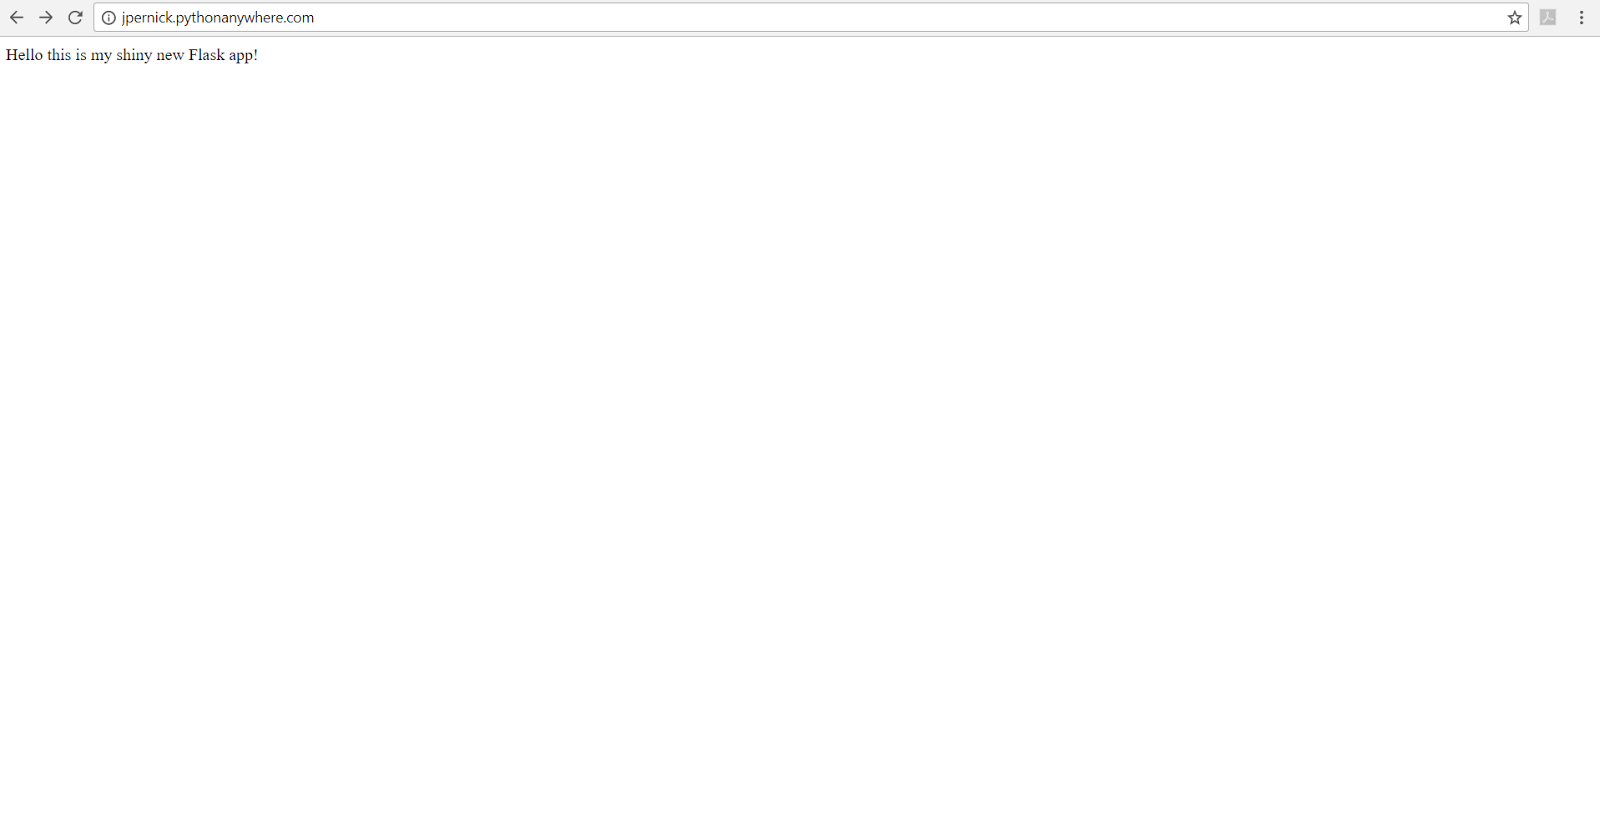
In my last post I created a polls application that asked a question, allowed the user to vote, and displayed the results on separate pages. For anyone who missed it, the question was "which platform would you like to see next?" and Flask won!
*Please click the photos to enlarge them
Although, I think many of the votes may have been my friends randomly voting to help me test it so if you would like to see one of the others please leave a comment and that's what I will do for the next platform! For this post, I will show how to test the website.
Automated Testing
Tests are simple routines that test the operation of your code. Why would I need tests? A good reason is that it will save you time in the long run, especially for complex websites with multiple applications and interactions where simply "checking to see if it works" is not enough. If something is wrong, tests will also help you find out where the error is. Some people follow a coding discipline called "test-driven development" in which the tests are written before the code, but it is never too late to get started.
There is already a bug in the polls application. The Question.was_published_recently() returns True if the question was published within the last day but also if the questions pub_date is in the future(which is incorrect). I've used the shell to show this here:
Creating a test to catch the bug
A conventional place to put tests is the applications tests.py file. So for this site I have updating the polls/tests.py page like so:
What I did was create a django.test.TestCase subclass with a method that creates a Question instance with pub_date in the future. Then it checks the output of was_recently_published() which should be false. When I ran python manage.py test polls the output is:
This shows one failure. The error is easily fixed by updating the method in the polls/models.py file:
After running the test again you can see the error has been fixed and the test passes:
Making more comprehensive tests
It would be bad if fixing one error created another error so I made some updates to the polls/tests.py file to include two more tests:
This will cover any other issues with the was_published_recently() method.
Thank you for reading! For my next post I will cover some of the different ways to style a Django page. Please comment anything you would like to see or any suggestions you would like to give to make your reading experience better.
-Joe


 index.html
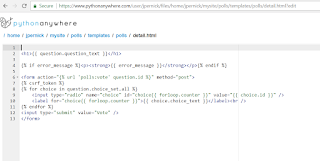 details.html
 results.html


